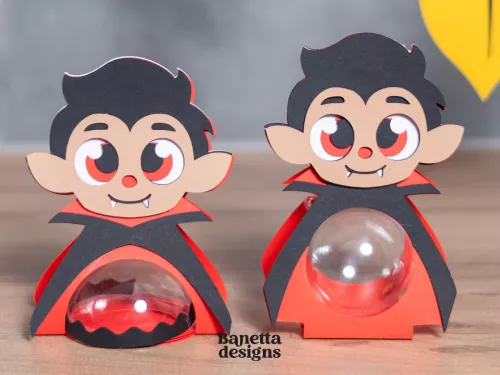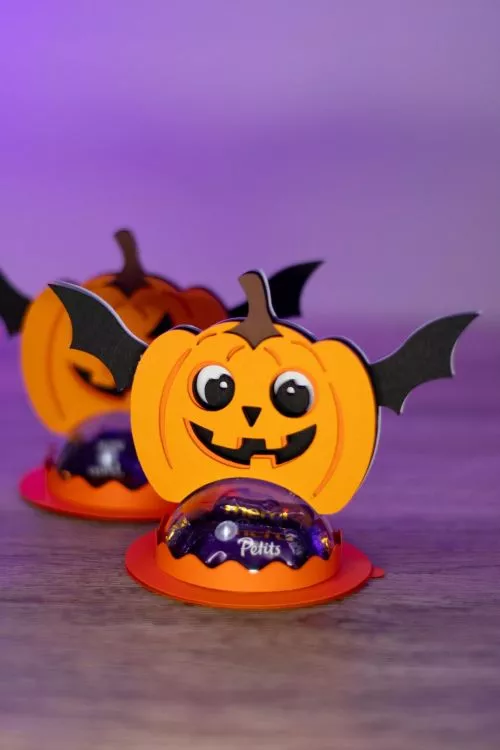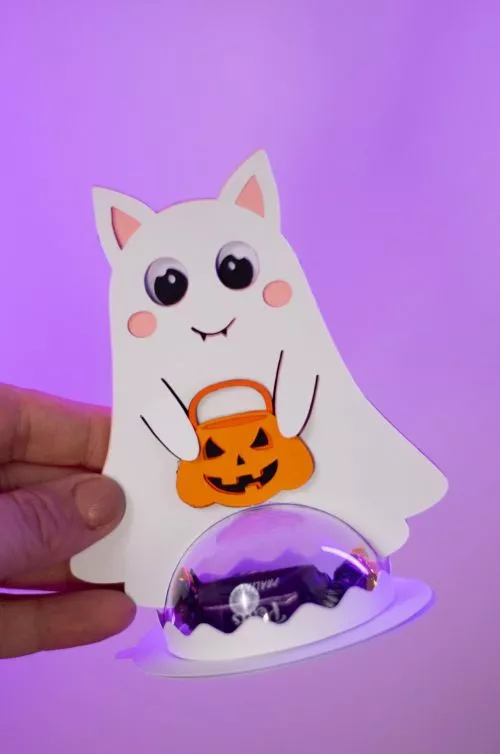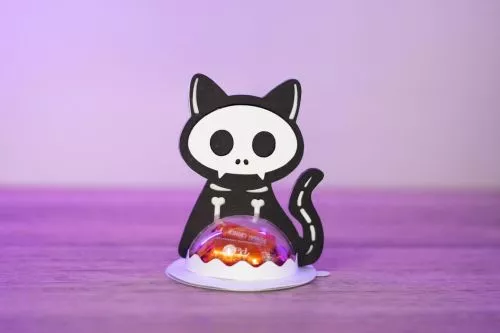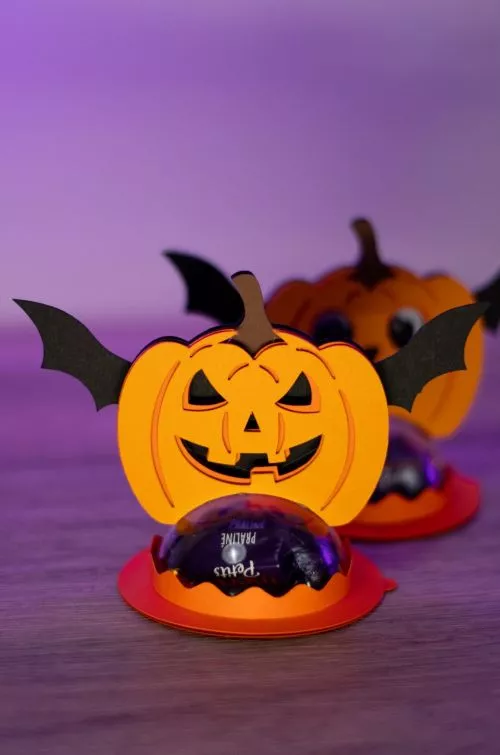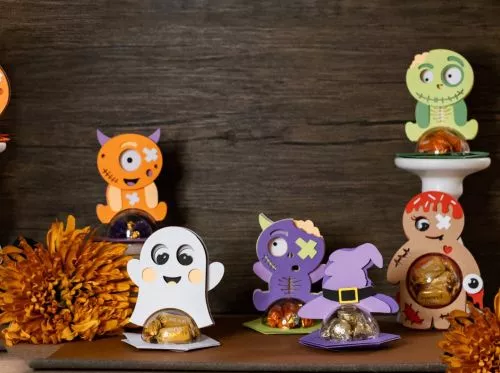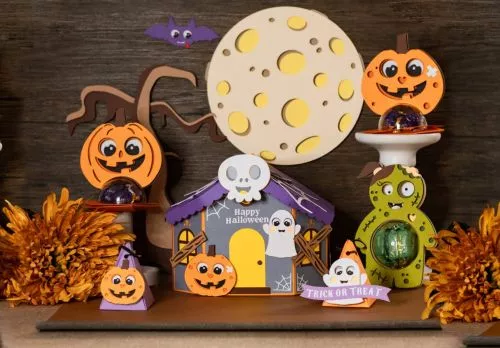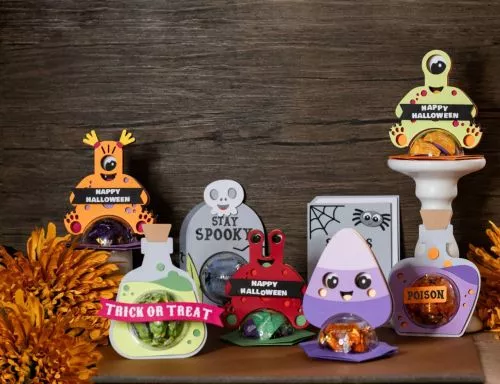

Hey, crafty friends! 🧛♂️ Candy holders are some of my favourite Halloween projects — they've got real presence on a table or shelf, and that clear dome center makes the candy feel like part of the design instead of just something stuffed inside a box. Today I'm walking you through the whole process using one of my newest characters, Vampire Viktor, my charming (and only slightly spooky) vampire candy holder.

What You'll Need
- Black, red, and tan cardstock (160–250 gsm for a sturdy hold)
- A clear plastic dome ornament (6cm or 8cm — Viktor's file includes both sizes)
- Cricut or Silhouette cutting machine
- The Vampire Viktor SVG file (from my Etsy shop — comes in SVG, EPS, DXF, and STUDIO3)
- Strong adhesive or hot glue
- Candy or small treats to fill it
Step 1: Download and Prep Your File
After purchasing, unzip your file and open the version that matches your software — SVG for Cricut Design Space, STUDIO3 for Silhouette Studio. Upload it into a new project and take a look at all the included pieces before you start cutting.
Step 2: Choose Your Size and Style
Vampire Viktor comes in two structural styles — HalfBall and FullBall — each available in small and large. The HalfBall style uses the dome as the front-facing "belly" of the design, while the FullBall style wraps the dome more fully into the body shape. Pick whichever suits your dome size and how much candy you want to fit:
- HalfBall Small: 9.5 x 18.3 cm (3.74 x 7.2 in)
- HalfBall Big: 11.7 x 23.1 cm (4.61 x 9.09 in)
- FullBall Small: 9.1 x 17 cm (3.58 x 6.69 in)
- FullBall Big: 12.6 x 23.5 cm (4.96 x 9.25 in)
Step 3: Cut Your Pieces
Assign your colors before cutting — black for the cape, red for the cape lining, tan for the face, and so on. This lets your machine cut everything in the right cardstock colour.
Step 4: Assemble the Body and Cape
Start by building the main body piece around where your dome will sit. Then attach the cape — this is what gives Viktor his classic silhouette and adds a bit of movement and drama to the finished design, especially if you let the cape edges curve slightly outward instead of gluing them completely flat.
Step 5: Attach the Face and Details
Add the face, hair, and any small details on top of the body. Take your time here — these pieces are what give the character personality, and precise placement makes a big difference in how expressive the final design looks.
Step 6: Fill and Attach the Dome
Fill your dome with candy. (You can fill it later too.), then snap or glue it into place at the center of the body. This is the moment the design really comes together — the treats become part of the display instead of being hidden inside a closed box.
Step 7: Let It Stand!
Because this is a standing design rather than a flat fold-up box, give it a moment on a flat surface to make sure it balances well before you move it to its final display spot. If needed, a small strip of cardstock folded into a tab on the back can help it stand more securely.

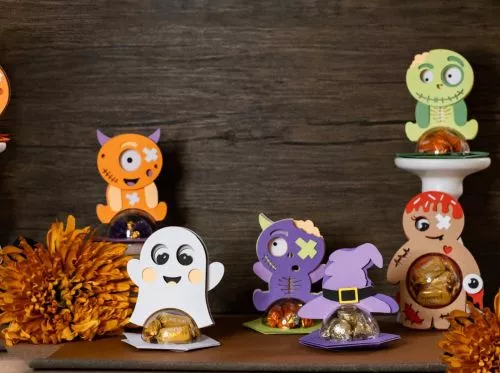
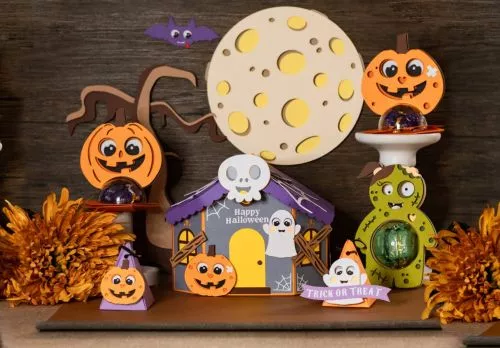
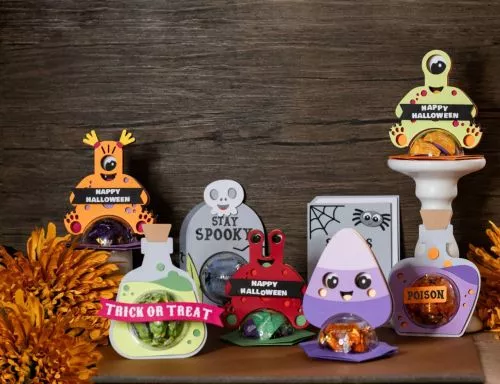
Once you've made Vampire Viktor, this same standing-candy-holder method applies to nearly all of my other Halloween characters, so it's a great technique to have down for the rest of the season.
If you make your own, I'd love to see it! Tag me or send me a photo — nothing makes my day more than seeing my designs come to life in your craft room. You can find Vampire Viktor, along with video instructions, in my Etsy shop.
Happy (early) Halloween crafting! — Niki