
Hey, crafty friends! 🎃 Mid-September is my favourite crafting sweet spot — the air's starting to shift, pumpkin everything is showing up everywhere, and there's still plenty of time before Halloween chaos hits. If you're looking for one standout project to anchor your fall decor this year, let me introduce you to my 3D Pumpkin Box Centerpiece.
Meet the 3D Pumpkin Box

This isn't your average flat treat box — it's a genuinely three-dimensional pumpkin, complete with a lid that lifts right off, a jack-o'-lantern face, and a stem and leaves on top for that finished, sculptural look. Once assembled, it stands about 20 cm wide and 25 cm tall (7.87 x 9.84 in), which makes it substantial enough to be the real focal point of a table, mantel, or entryway display.
Why It's the Perfect Mid-September Project
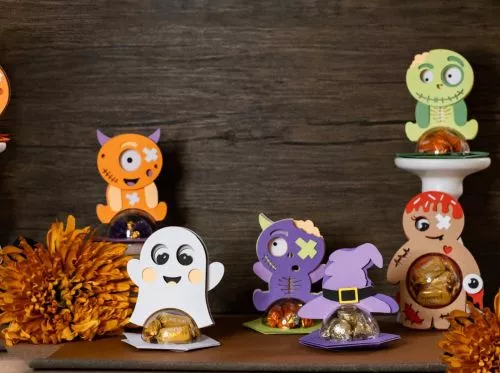
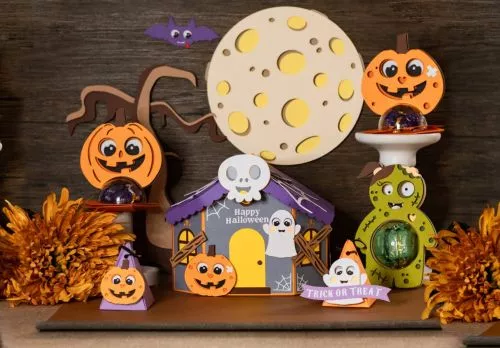
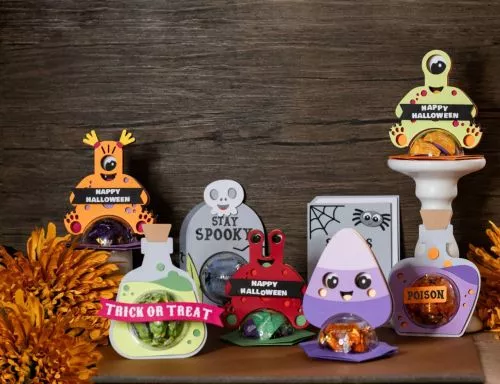
It's a centerpiece, not just a favor. Most of my candy holders are sized for personal treats or party favors — this one is built to be seen. Set it out on its own, or use it as the anchor piece surrounded by smaller Halloween candy holders as the season goes on.
It gives you time to enjoy the process. Because it includes scored fold lines and a full video tutorial, it's a satisfying weekend project rather than a rushed one. Starting now means you get to actually enjoy building it, instead of squeezing it in during the October crunch.
It works from now through Halloween. A jack-o'-lantern pumpkin box fits right in whether you're doing a "cozy fall" aesthetic in September or a "full Halloween" display by late October — it doesn't need to be retired once spookier decor comes out.
What You'll Need
- Orange, black, brown, and green cardstock (160–250 gsm for a sturdy structure)
- Cricut or Silhouette cutting machine
- The 3D Pumpkin Box SVG file (from my Etsy shop — includes SVG, EPS, DXF, and STUDIO3 formats)
- Strong adhesive or hot glue for assembly
- A little patience for the 3D shaping — this one has more steps than a simple fold-flat box, but the payoff is worth it
A Few Tips for This Project


- Watch the video tutorial first. Because this is a more dimensional build than my usual candy holders, seeing the assembly steps in action before you start will save you time and guesswork.
- Take your time with the scoring. Clean, well-scored fold lines make a huge difference in how crisp the final pumpkin shape looks.
- Display it with height. In the listing photos, it's shown on a small wooden stand — a simple riser or stand really elevates it from "craft project" to "centerpiece."
If you make this one, I would genuinely love to see it — it's such a showpiece, and I always love seeing how everyone styles theirs differently. Tag me or send me a photo, and you can find the full file, with video instructions, over in my Etsy shop.
Happy crafting! — Niki